Chapter 4
Product Photography Pricing
Now that you know how important product photography is to selling your products and what type of images you can shoot, it’s time to decide how much money you want to invest in it.
As mentioned, there are trade-offs in a business — and it only makes sense to spend money on what you can afford to spend money on.
How to Shoot Great Product Photos for Under $20
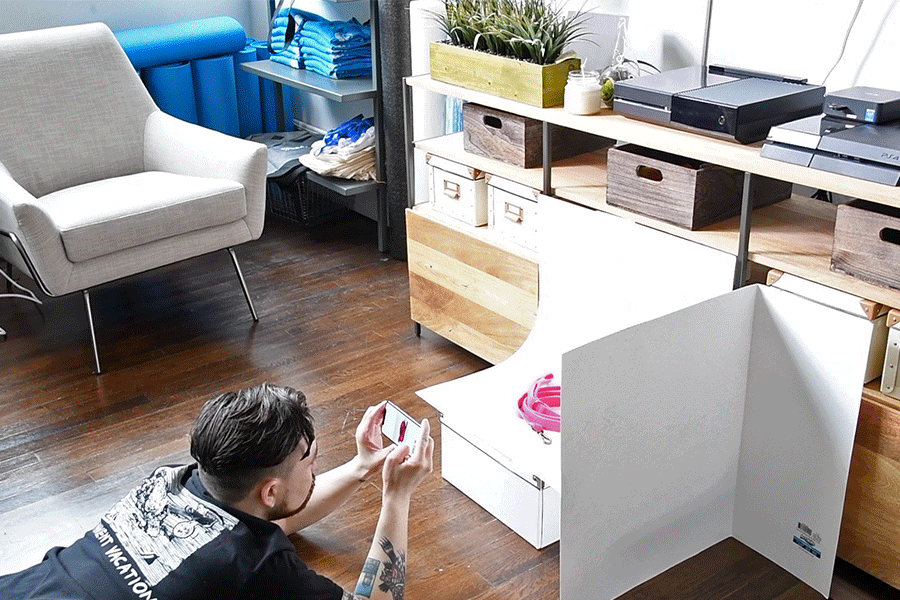
Here’s how you can shoot great product photos with your phone, a computer, and a twenty dollar bill.
There are hundreds of tutorials that teach you how to do this. They all follow the same basic concept.
Here are the ingredients we used:
- A white curved surface that’s clear of dust and dirt. We used a sheet of posterboard
- Sunlight
- A second white surface to bounce light off of. You can use a second sheet of poster board or a piece of white foam board
- A roll of gaffer tape
- A camera or camera phone. We used an iPhone X (which we didn’t include in this budget.) If you don’t have an iPhone X — don’t fret. Borrow the best camera you can find
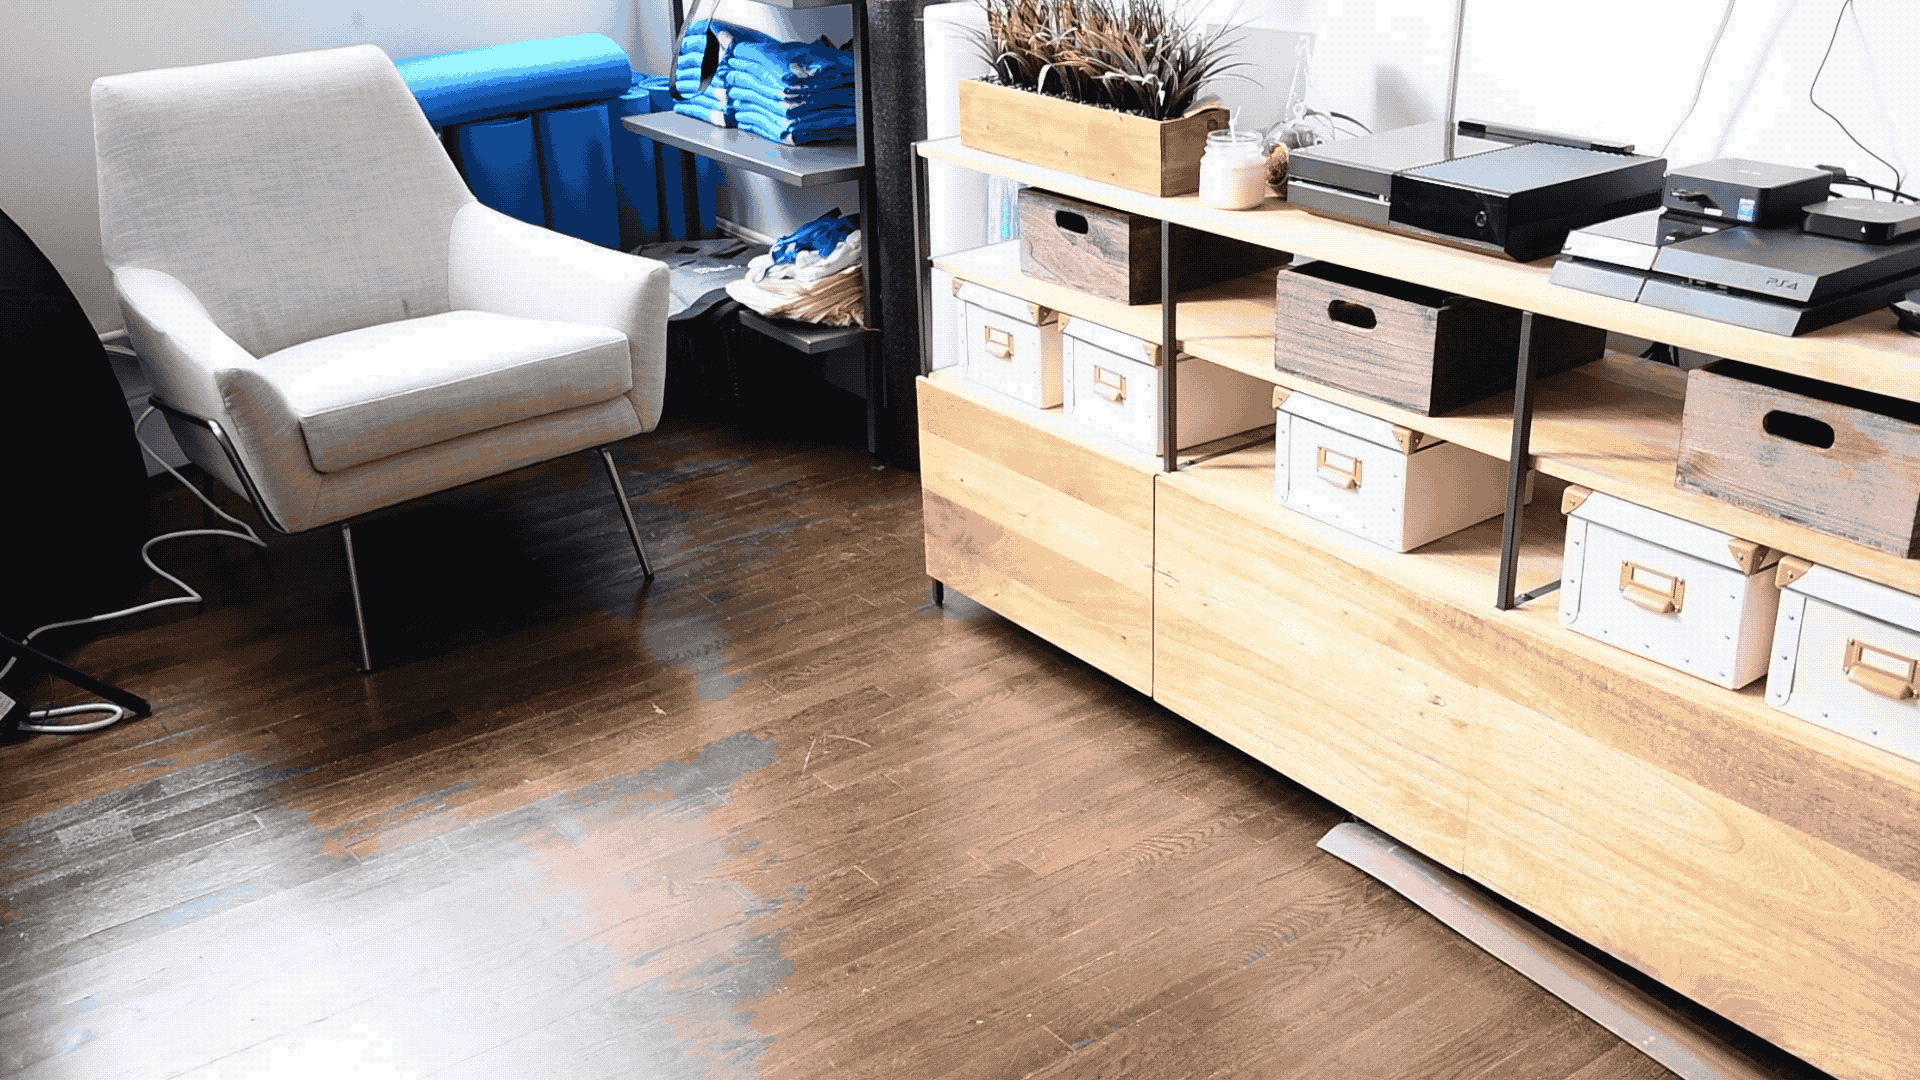
Taking these photos is fairly easy. Use one piece of poster board as a curved backdrop (you can tape it on a table or against a wall) and place your second piece of posterboard opposite your light source, so the light bounces onto your product.
From there, take your photo!
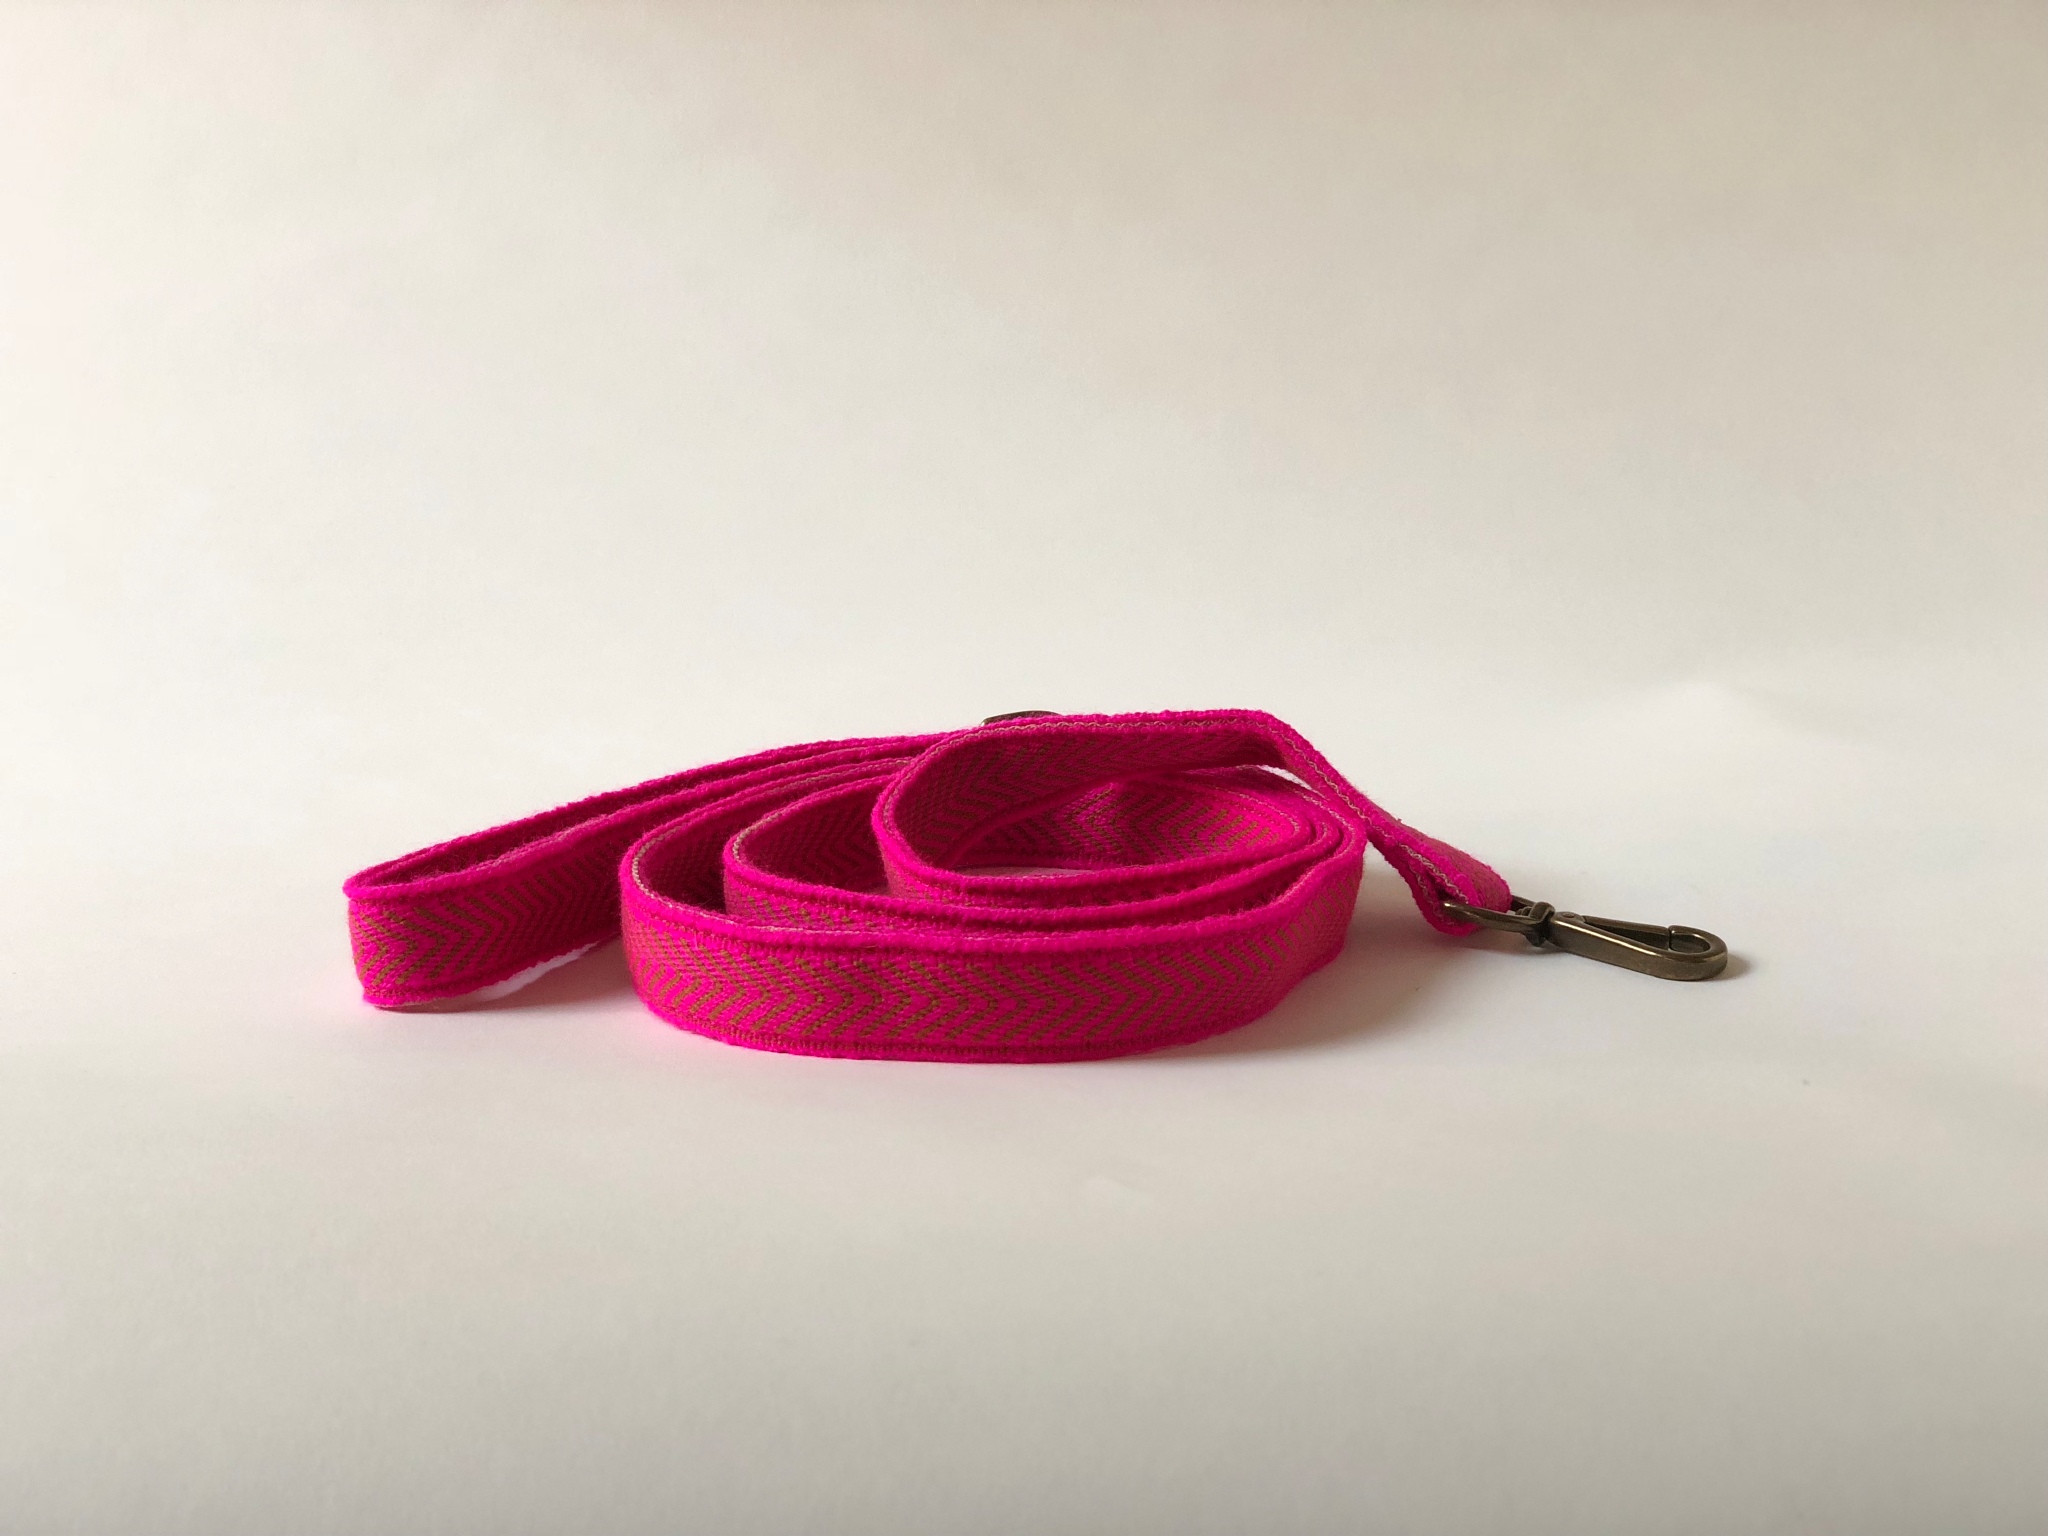
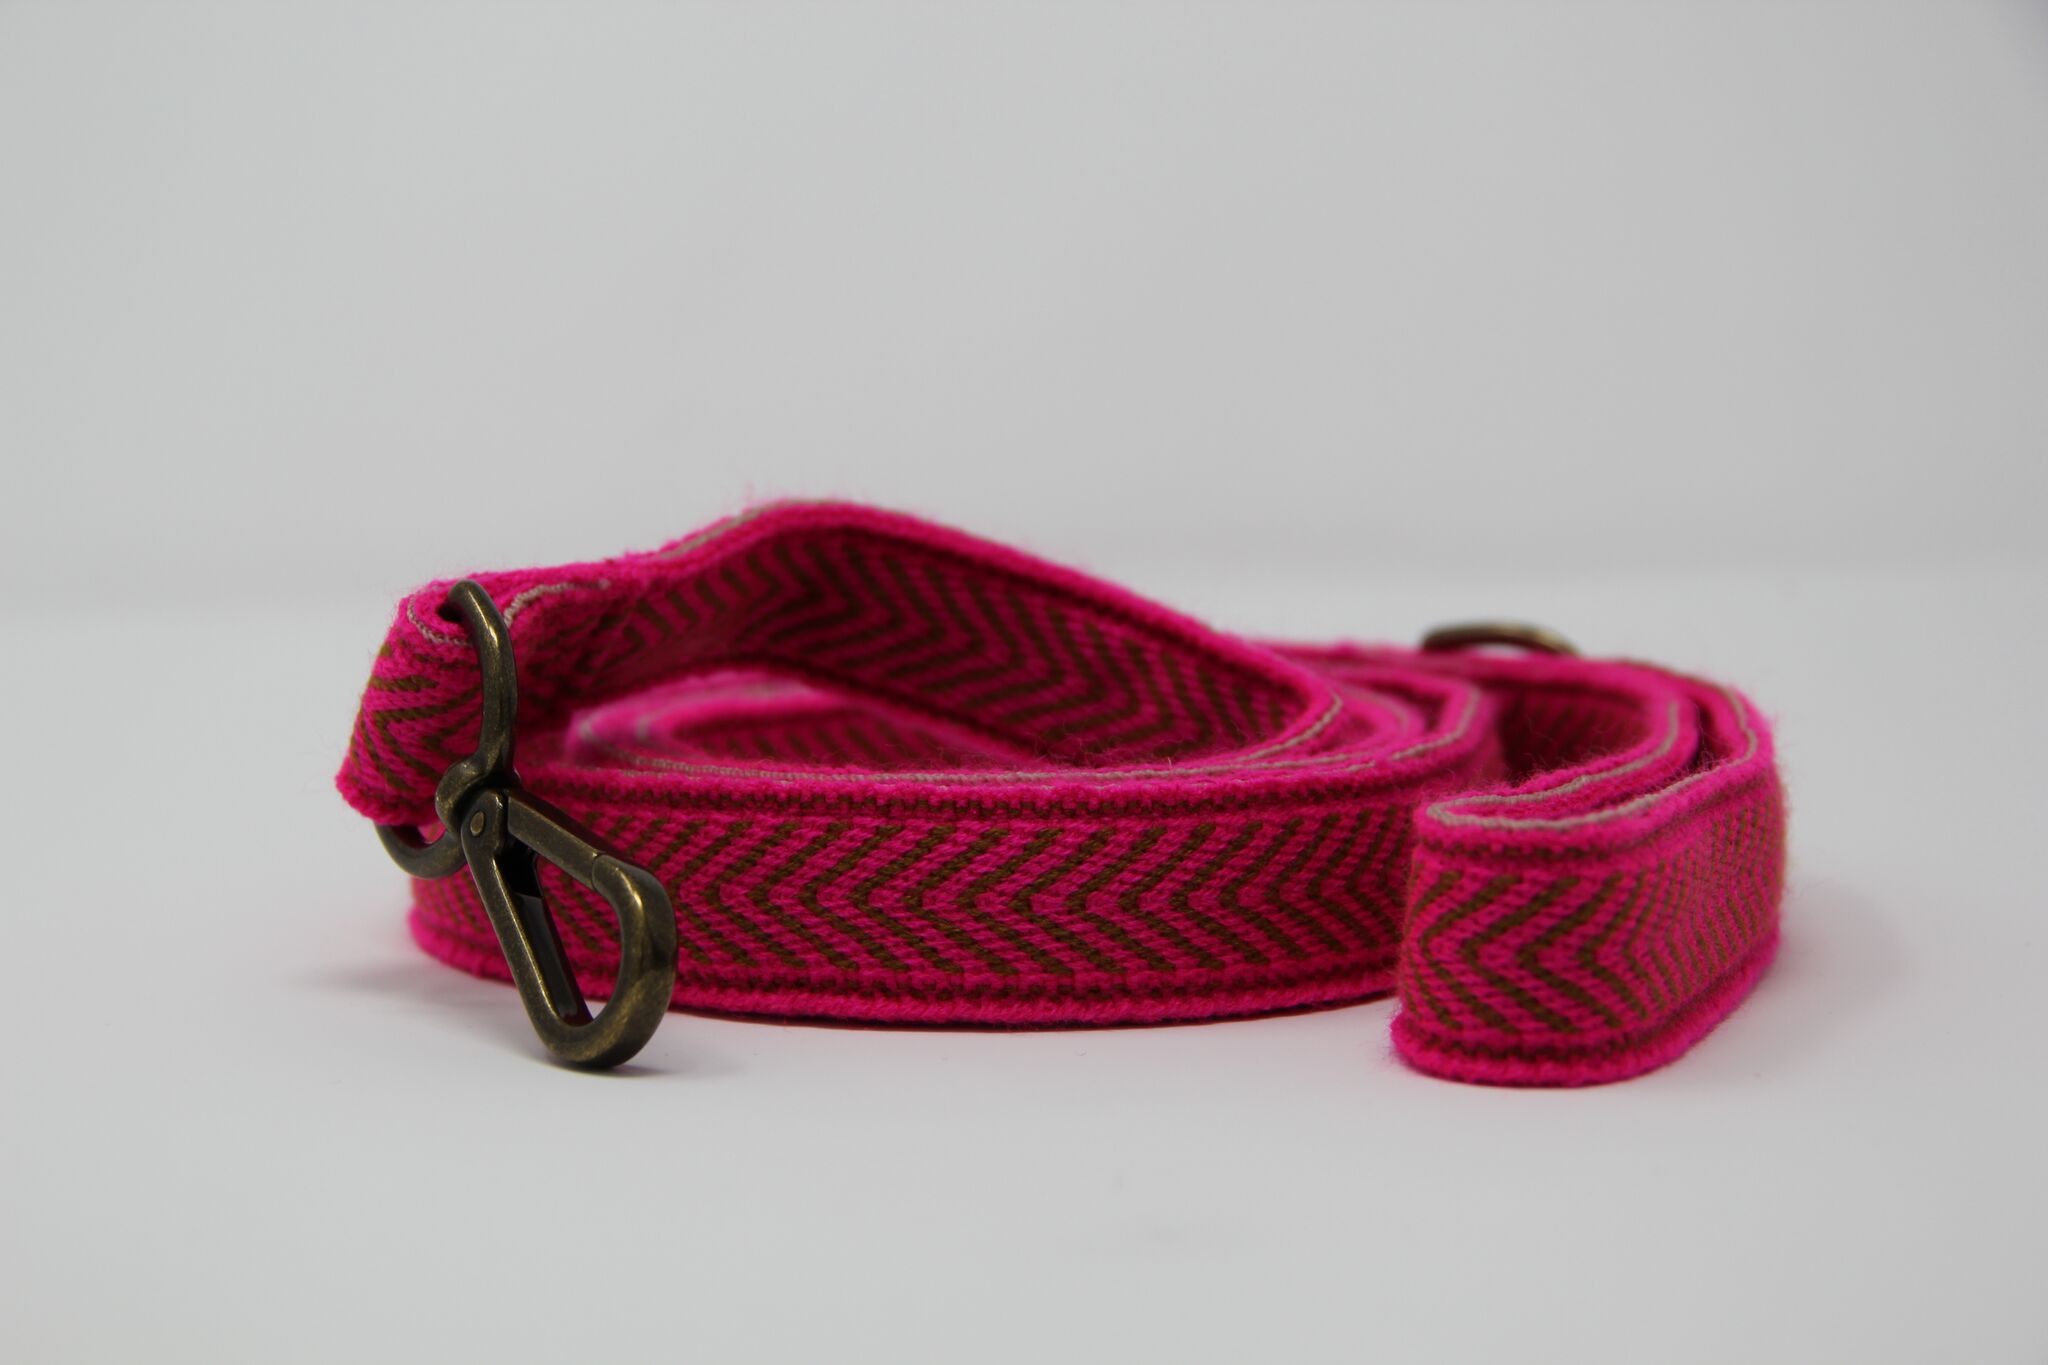
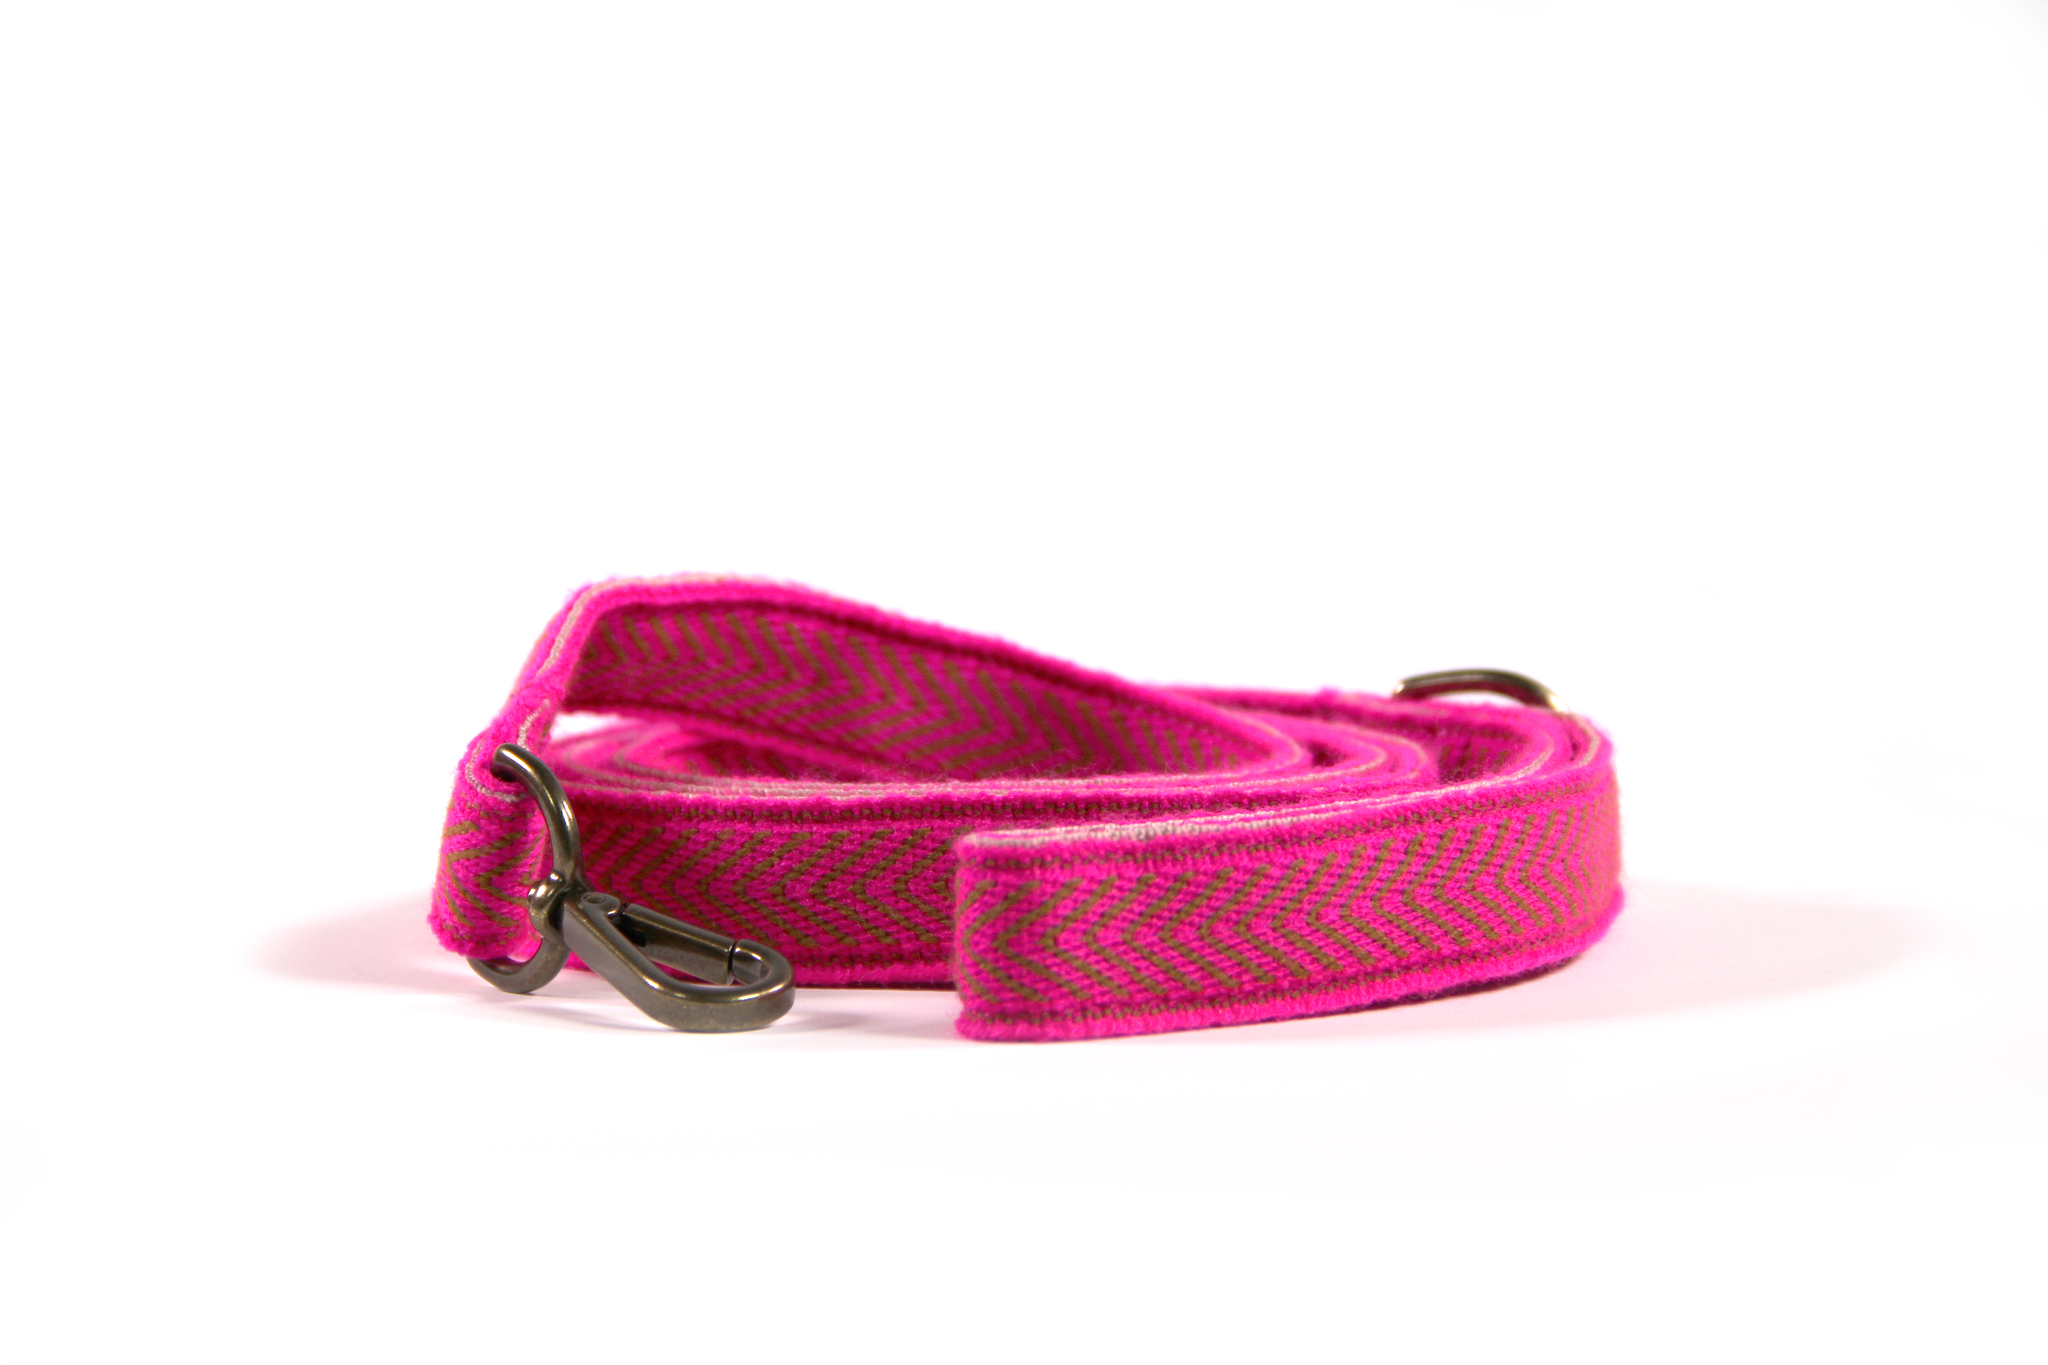
Here’s the image we got without retouching:
And here it is after we used Photoshop:
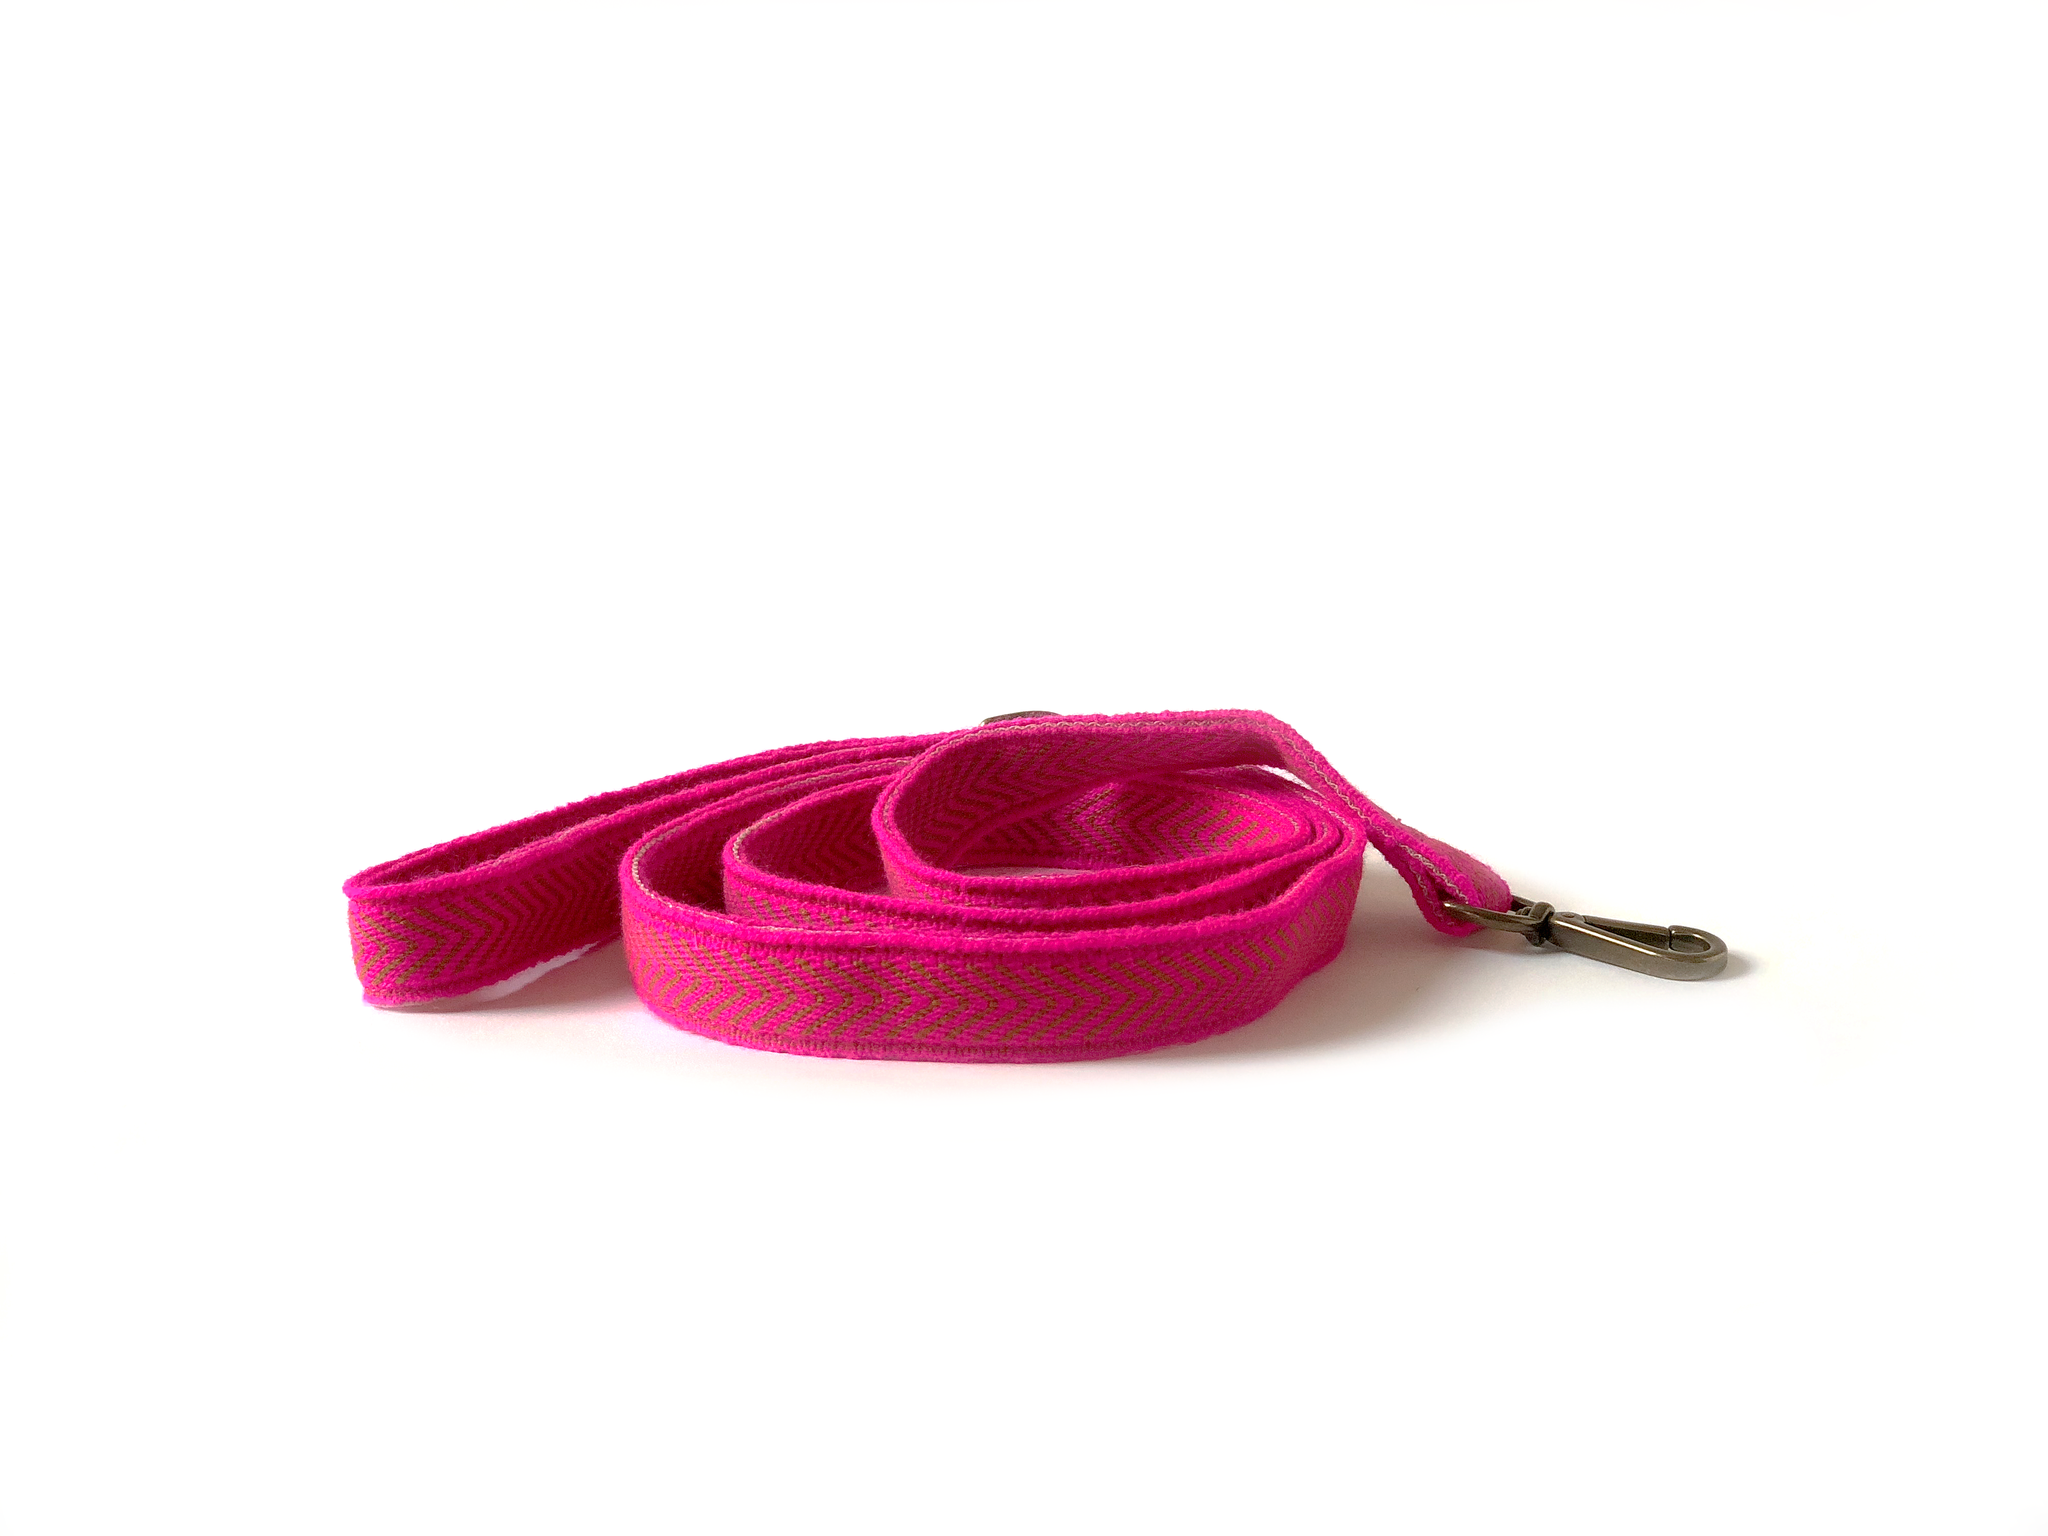
There are ways to retouch without shelling out for an expensive program. Photoshop has a fairly generous free-trial period and is billed monthly, so if you’re smart you can get away with spending just $10 for one month of intense photo editing. GIMP Is a free alternative that’s a bit less powerful but just as effective for photo retouching. Pixelmator is also a great tool that, for $20, offers most of the functionality that Photoshop has.
There are also apps on your phone you can use to make your image look crisp and clear. We’re no experts on these — but here’s a good list. Just remember that the goal is to showcase your product — so if you’re editing or using any filters, try to make sure the colors look as accurate as possible.
What we learned about product photography lighting: Use a room with lots of natural light and shoot on a sunny day. If you can shoot outside, that’s even better. The more natural light the better for this set-up since your goal is to channel a light source toward your product. Try your best to eliminate shadows, but don’t go crazy — it’s fairly easy to remove shadows in photoshop or with a photoshop-alternative
Overall, with a little bit of retouching, you can get perfectly acceptable product photos for just $20 or less.
How to Shoot Great Product Photos for Under $200
For this set-up, we used a lightbox. We got the best results with AmazonBasics Portable Photo Studio and that was the extent of our budget. We found the portable studio easy to use and were extremely happy with the results. If your products are relatively small or if you have a lot of products, this is definitely an investment we wholeheartedly recommend.
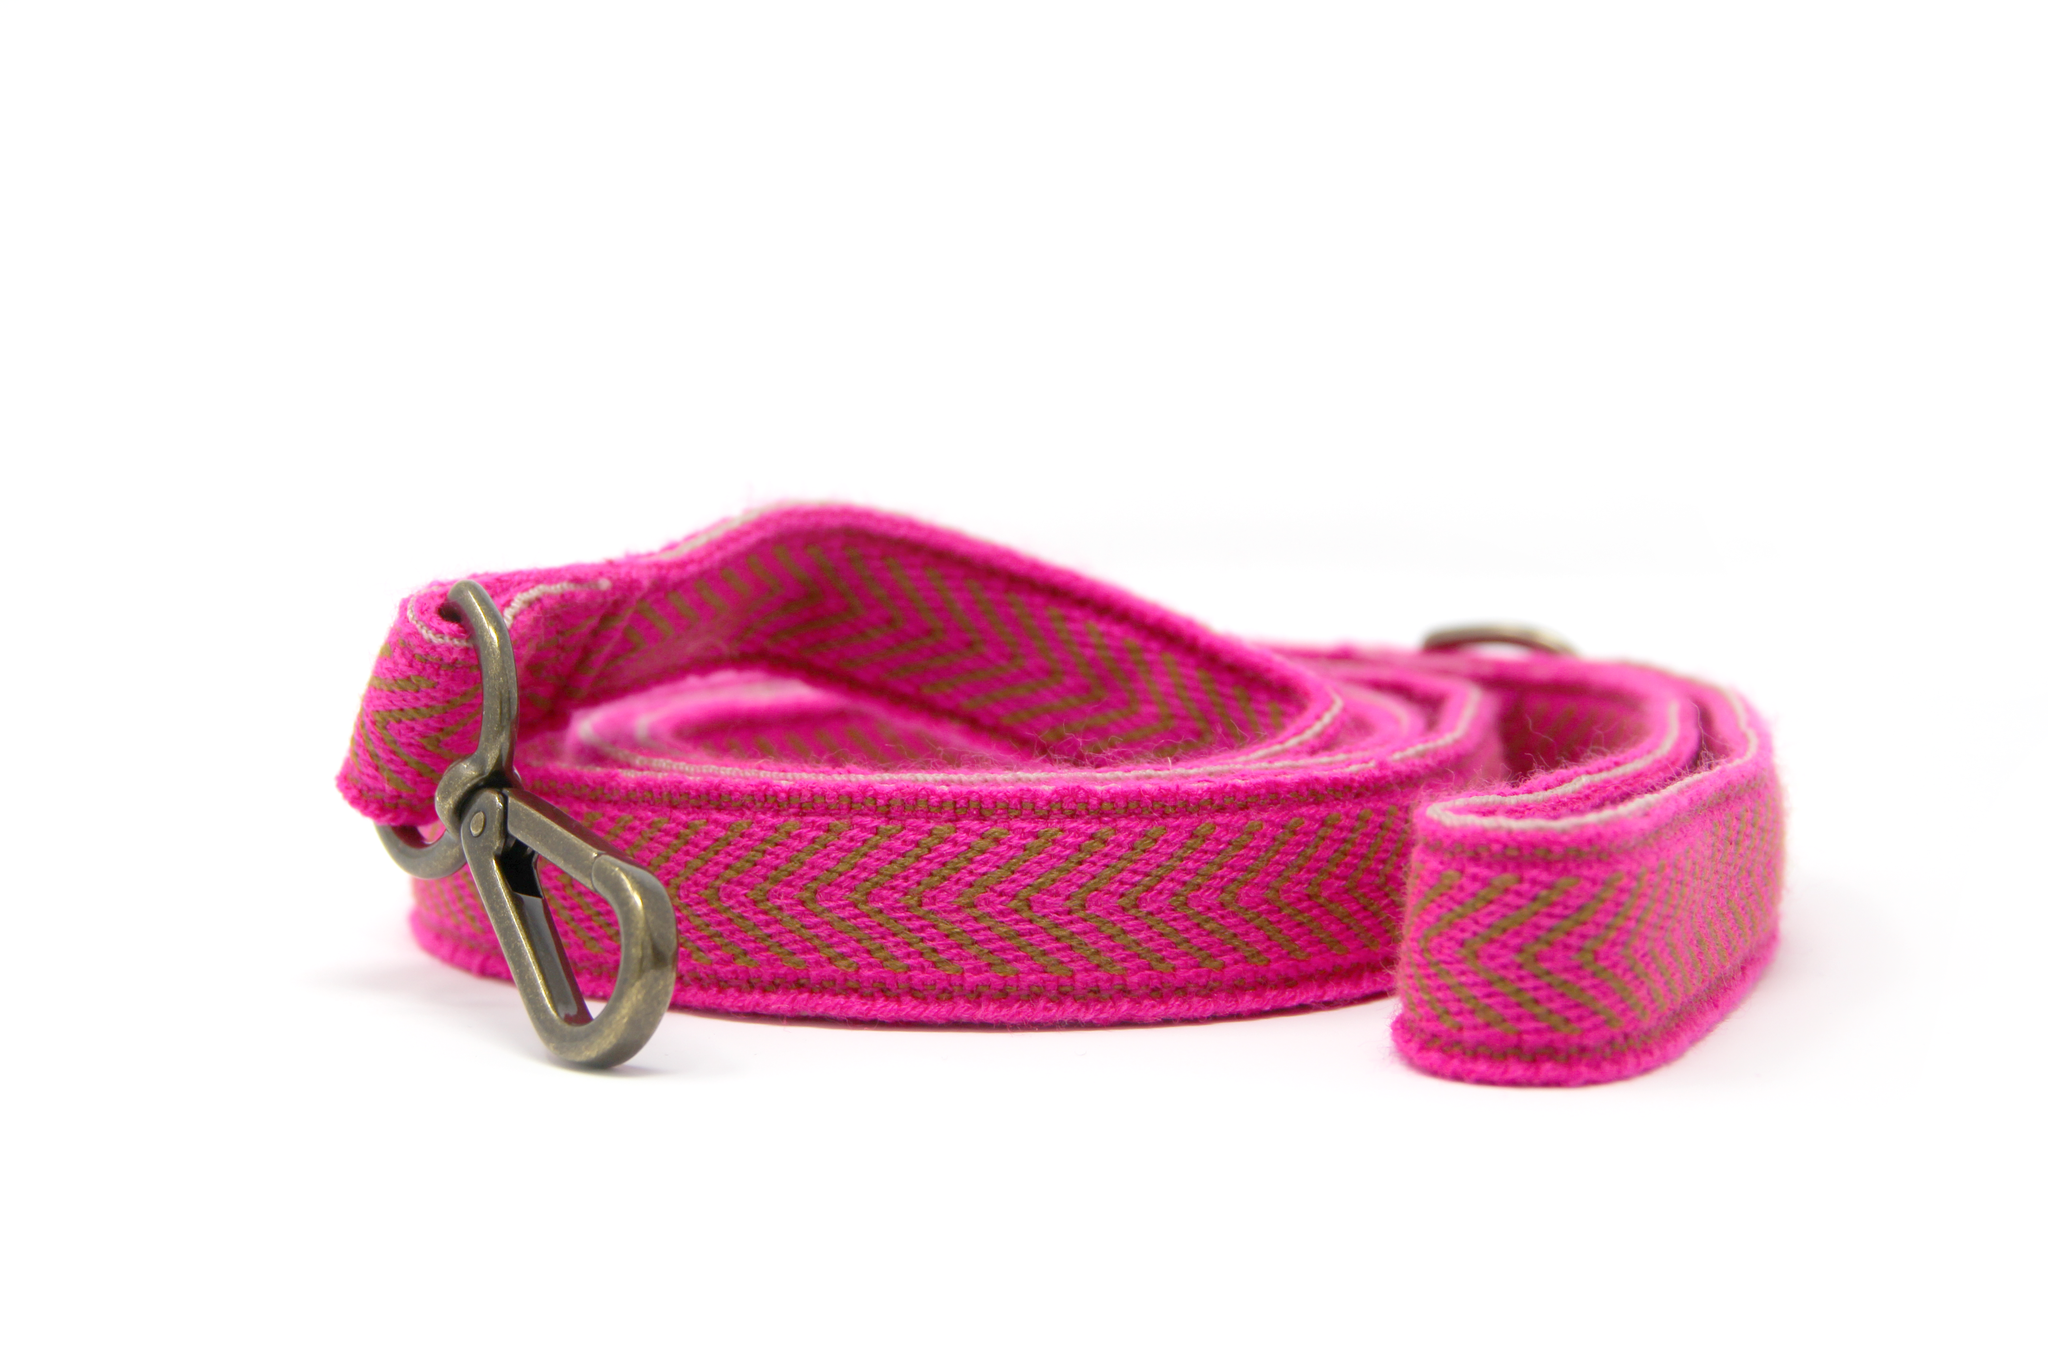
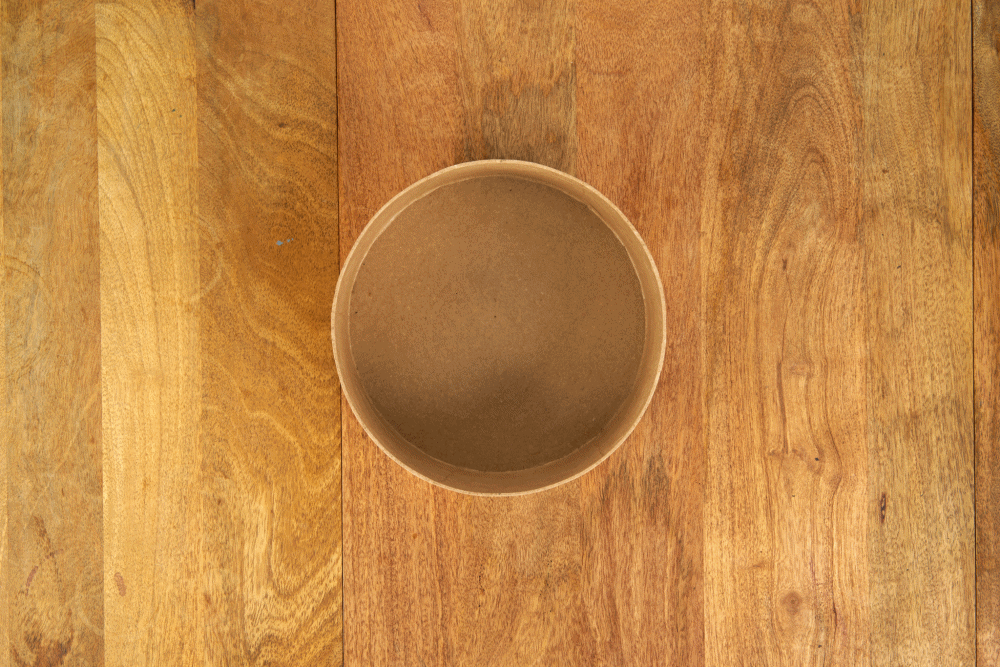
Here’s our product photo before retouching:
And here it is after retouching:
Our main takeaways were: This works best if outside light is completely sealed off and the backdrop is as dust and wrinkle-free as possible. We had to iron the inside of our lightbox after it showed up since it was fairly wrinkled when they shipped it to us. Also the box had blood on it — but we’re hoping that’s more specific to our experience than anyone else’s. If you have limited experience shooting product photography, have a lot of products, or are willing to invest $150 into a photography solution — this is a great idea. We were very happy with how these photos turned out.
How to Shoot Great Product Photos with a Studio Budget
We wanted to try and duplicate a professional photography studio so we rented equipment and turned one of our conference rooms into a photo studio. We had mixed results - and ended up working with a friendly neighbor to get results we were happy with.
To start, we rented in the following equipment:
- Rented 2x Lite Panels Astra 1x1 Light kits $400 for two days
- Bought a roll of white seamless paper $27.99
- Rented a backdrop support kit - $30.00 for two days
- Gaffer’s tape
- Clamps
This was suggested by the rental company as the ideal setup for product photography. But when we got all this equipment in place, we realized we didn’t have nearly enough light to cover both the backdrop of the product and the product itself.
Lucky for us, our neighbor is a professional photography studio.
He taught us that while we had enough lights to make the product bright enough, we didn’t have enough lights to make the background consistent — and therefore control any of the shadows.
We borrowed two Rotolight Anova V2 EcoFloods which, if we rented them, would have added another $400 to our rental costs. We then positioned our four lights to evenly light the product, background, and remove most of the shadows.
We used a Canon 7D camera, which we didn’t include in the total cost but, if you were really set on renting this, would run about $110.
Here’s a total list of the equipment we used:
- 2x Rotolight Anova V2 EcoFloods
- 2x Lite Panels Astra 1x1 Light kits
- White seamless paper
- Backdrop support kit
- Clamps
- Gaffe tape
- Camera
- Tripod
The total cost for a two-day rental, with the stuff we bought, would be about $1,008. The total cost to buy all this equipment would be around $14,000.
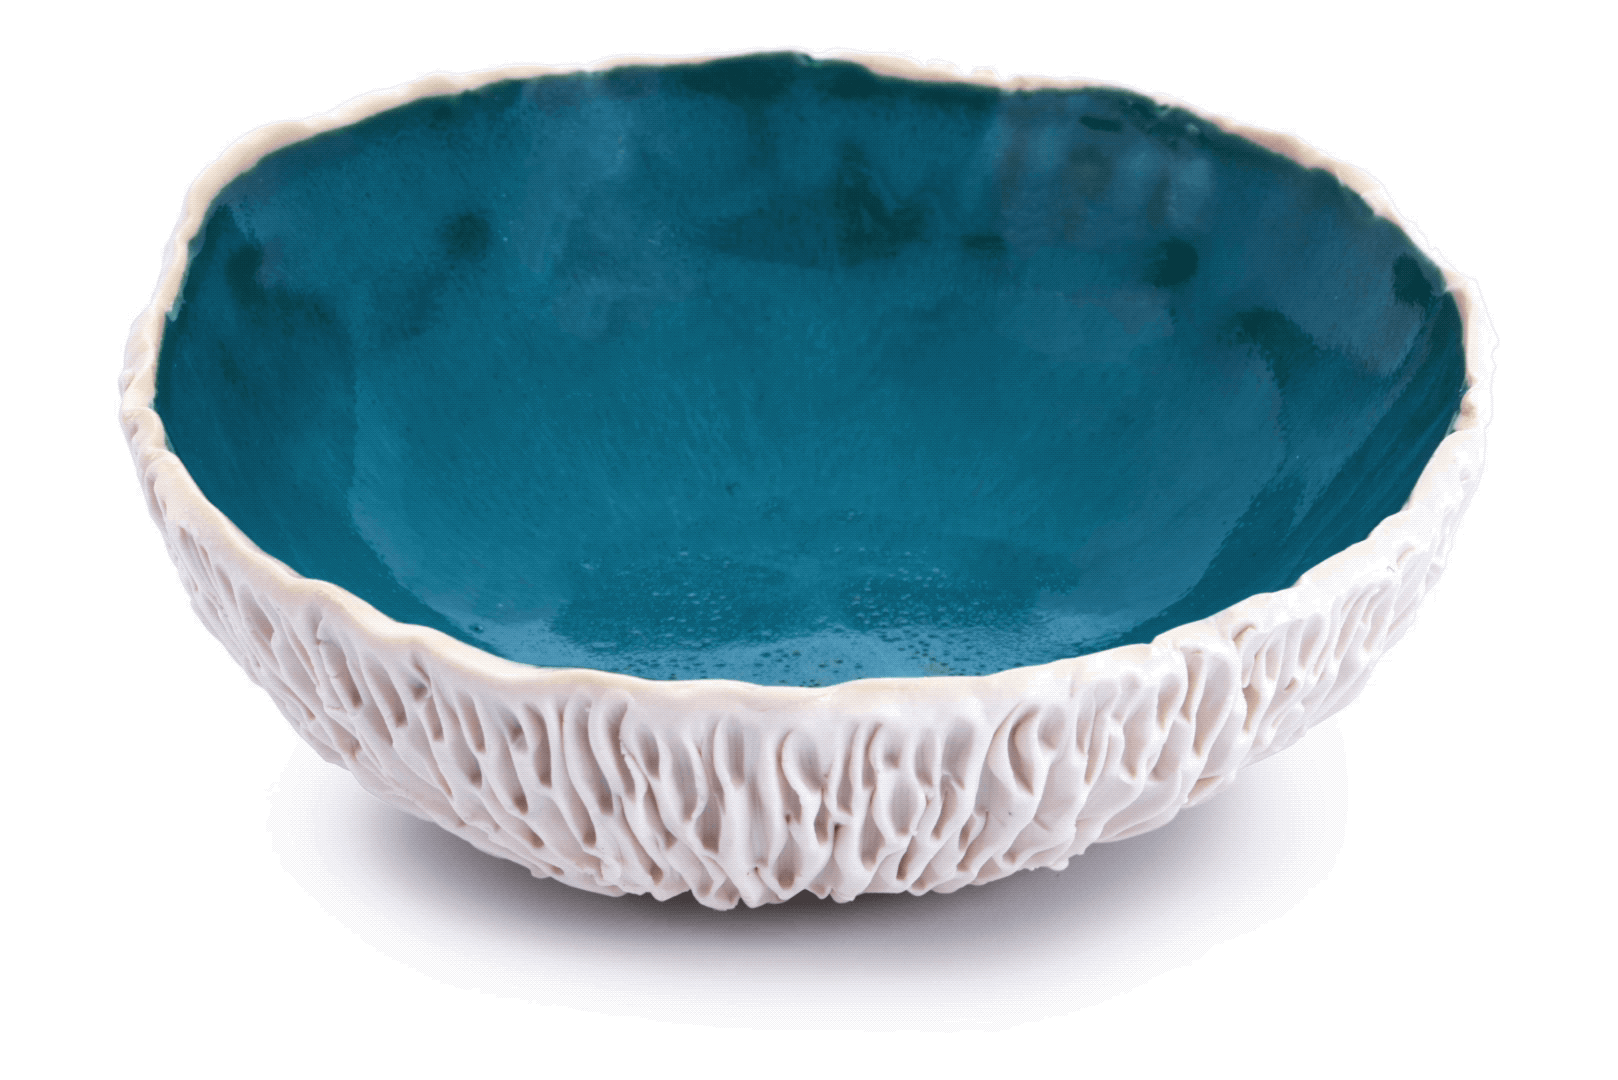
Here’s the photo without any retouching
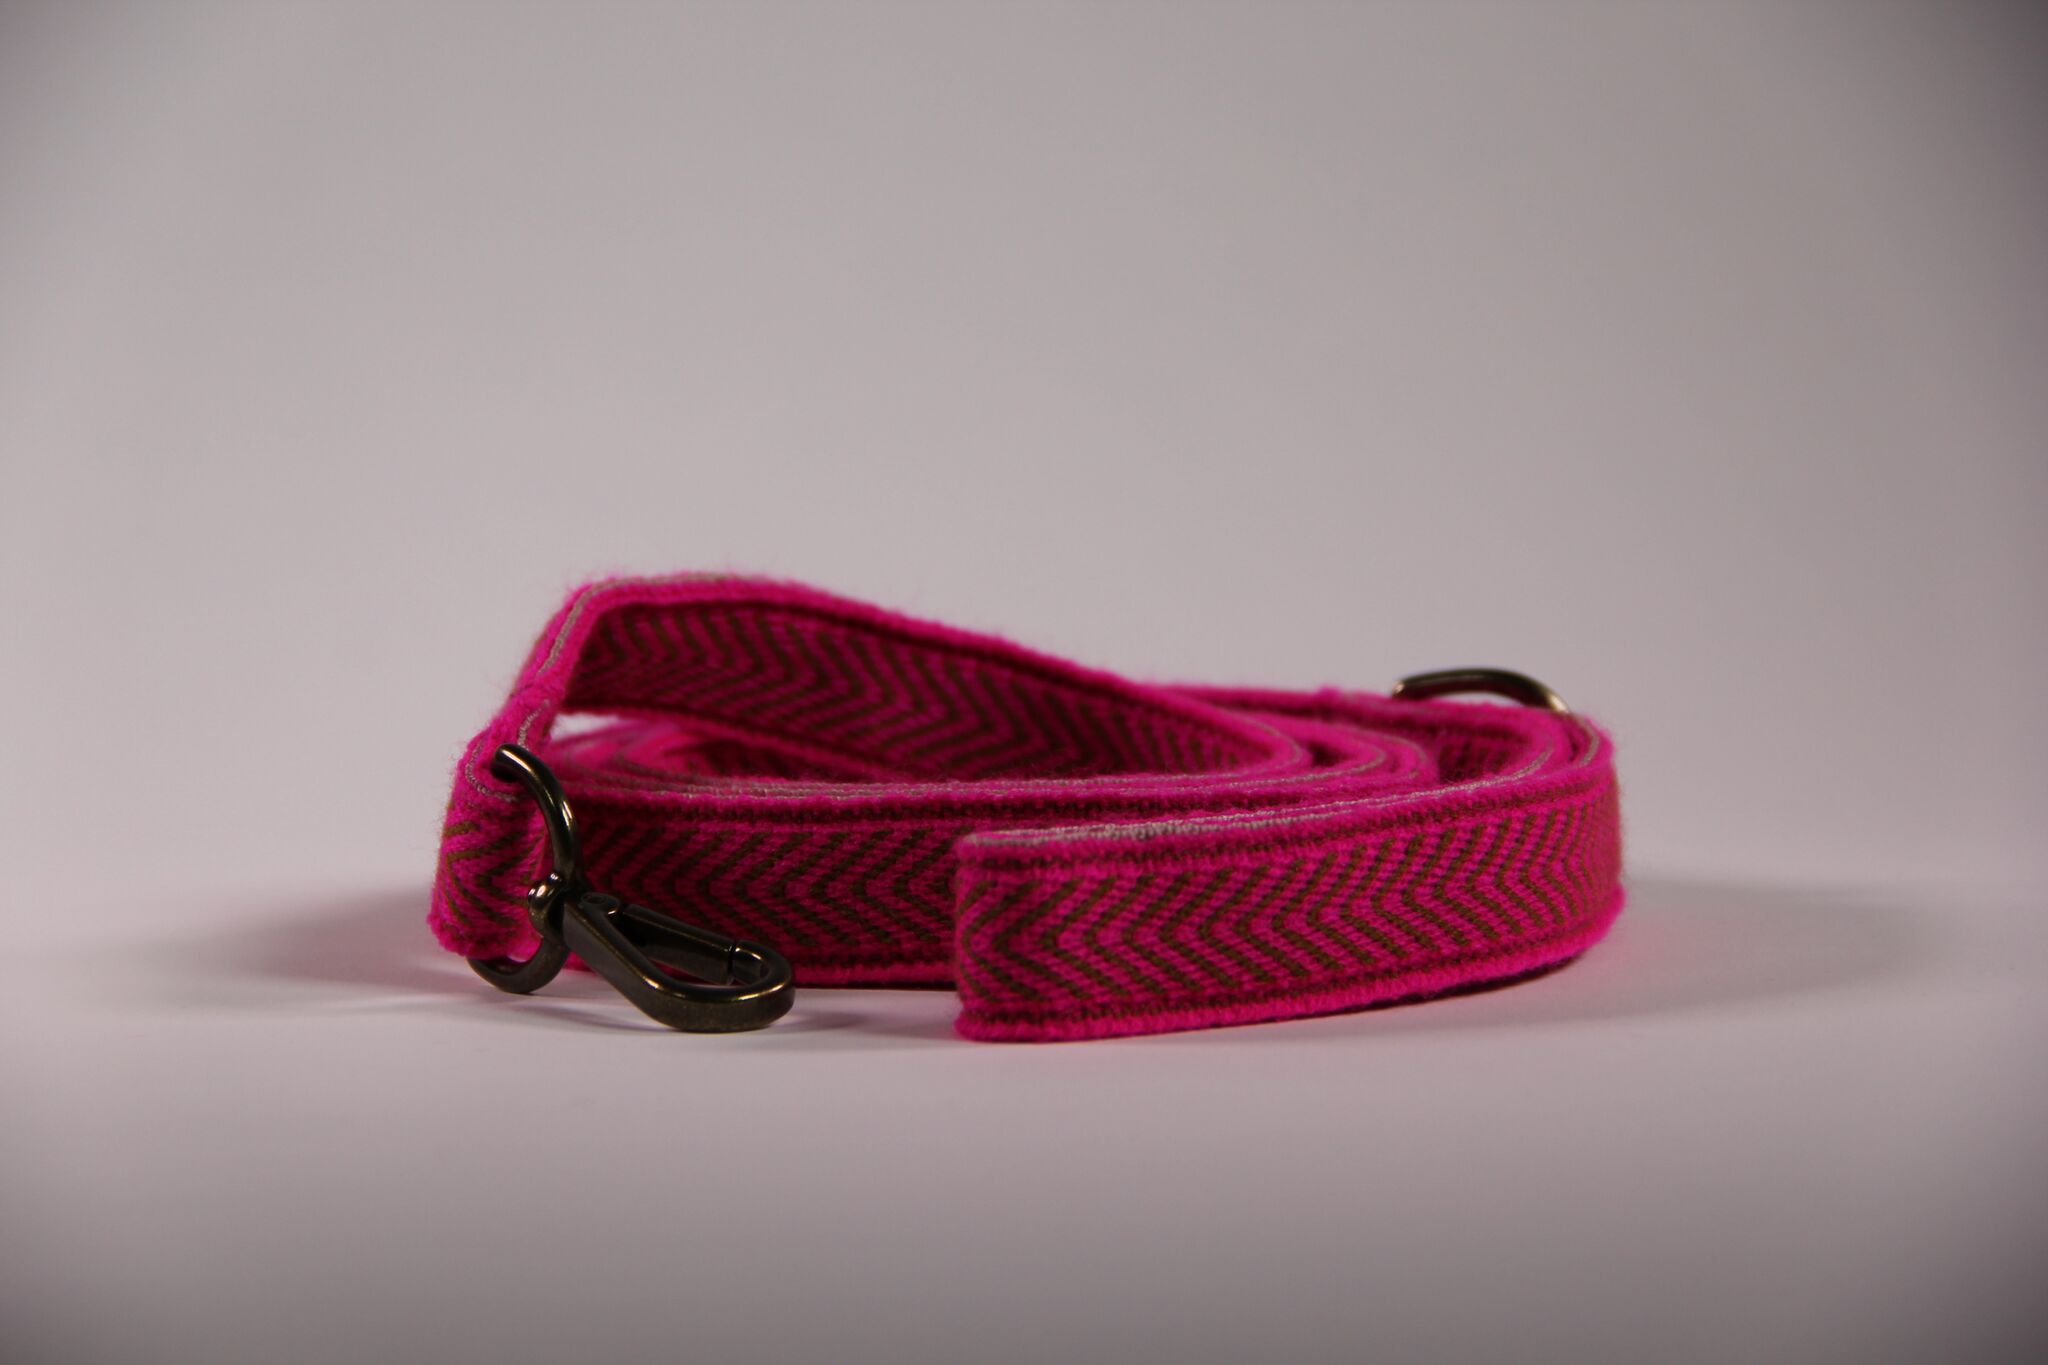
And with retouching…
What we learned: This was expensive and hard — so we humbly suggest that you not try this at home. Instead, we did this the right way…
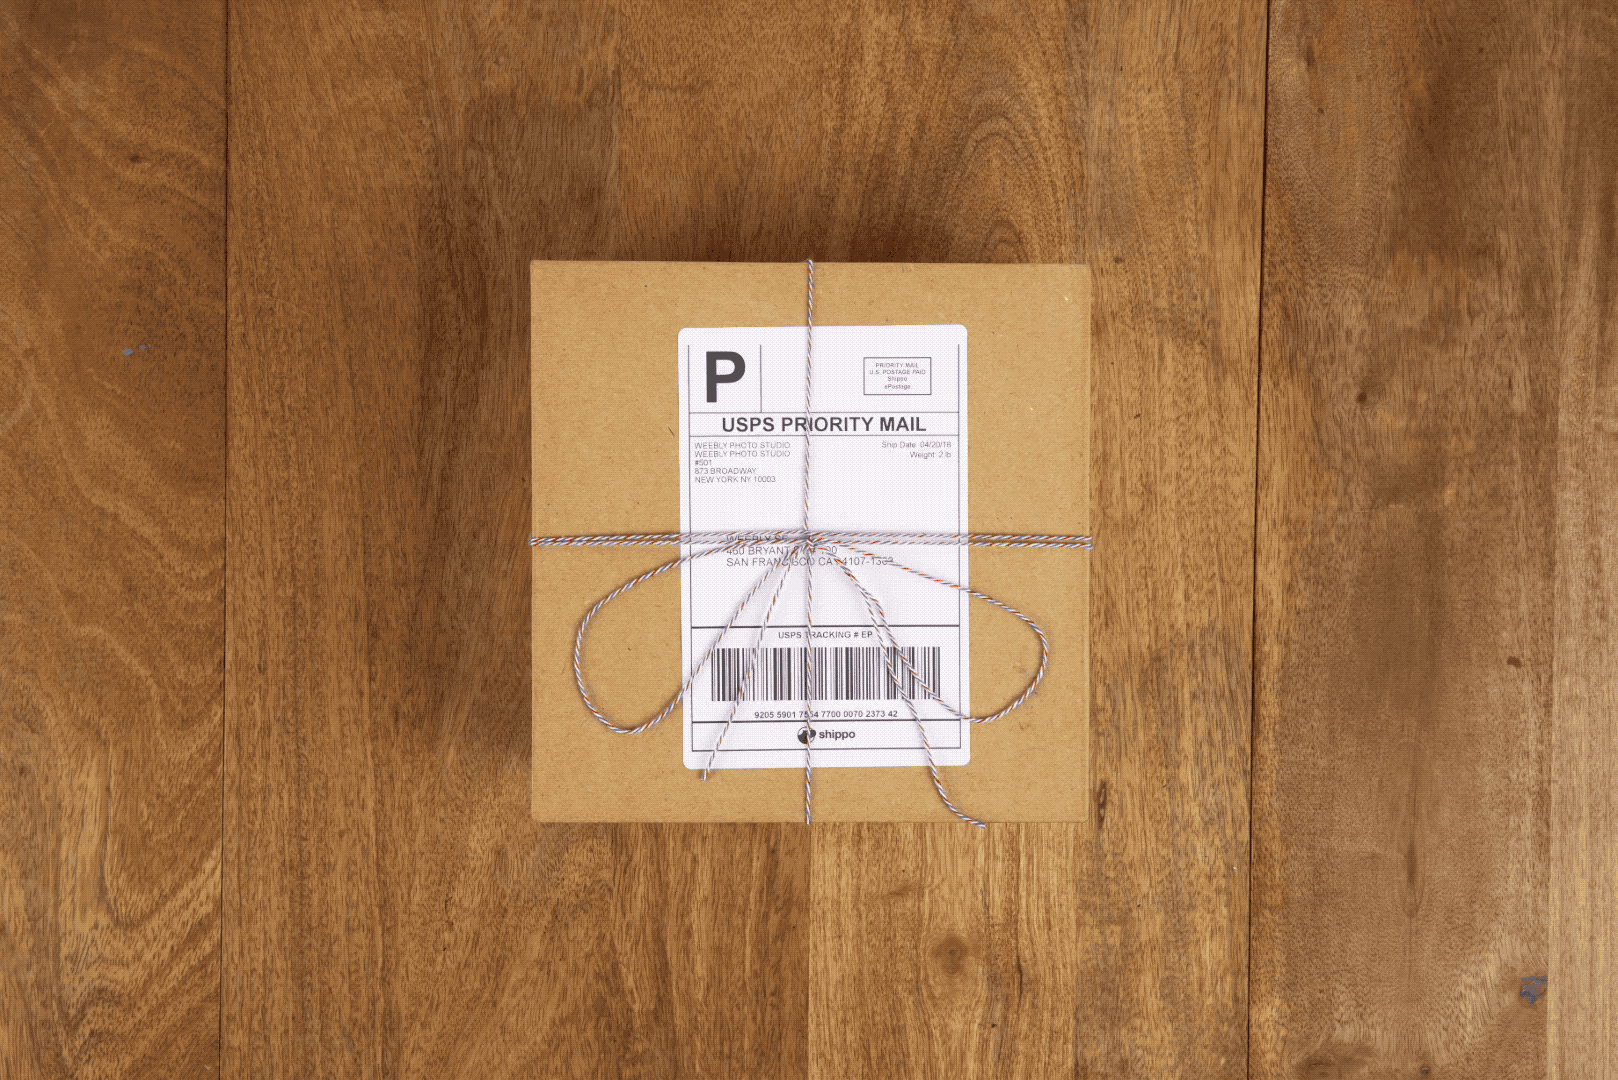
Weebly Photo Studio This is our professional product photography service! After our trying it out for ourselves, and learning how challenging it was, we built a professional studio in our New York office and hired someone with over fifteen years of product photography experience. Much better than doing it yourself, and much more efficient, we’ve built out our studio so that it’s ideal for product photography shoots.
Here’s how it works:
1.) Sign up for Weebly Photo Studio.
2.) Ship us your products. We’ll take three photos of each product. Additional photos cost a bit more.
3.) We’ll shoot photos of your products.
4.) We’ll send you a download of your images.
5.) We’ll ship your product back to you.
It’s that easy. There’s no catch and it’s really inexpensive to other services. We’re doing this because of all the reasons above — we know how important product photos are, we know how hard it is to get great ones, and we also know that when our merchants succeed in selling their products, we succeed as well — so we want it to make this part as easy as possible.
This service is coming soon. Sign up at weebly.com/productphotos to get notified when we’re ready launch.