You can always get great product photos if you have a nice camera, invest in lighting equipment, take a product photography class, purchase photoshop, learn how to use photoshop with online tutorials… this list could go on. But as an entrepreneur, your main goal is to sell your products. You shouldn't have to become a semi-pro photographer to make that happen.
Good product photography can be done in your own home with just five things:
Let's put these five things to use. Here's an antique tray:
- An iPhone or higher-end Android phone that was released in the last few years.
- Access to a window with sunlight.
- Some ideas for how you want to stage your product.
- Something to sit your product on for staging.
- Free and simple photo editing software from the App or Play Stores like Snapseed or VSCO Cam.
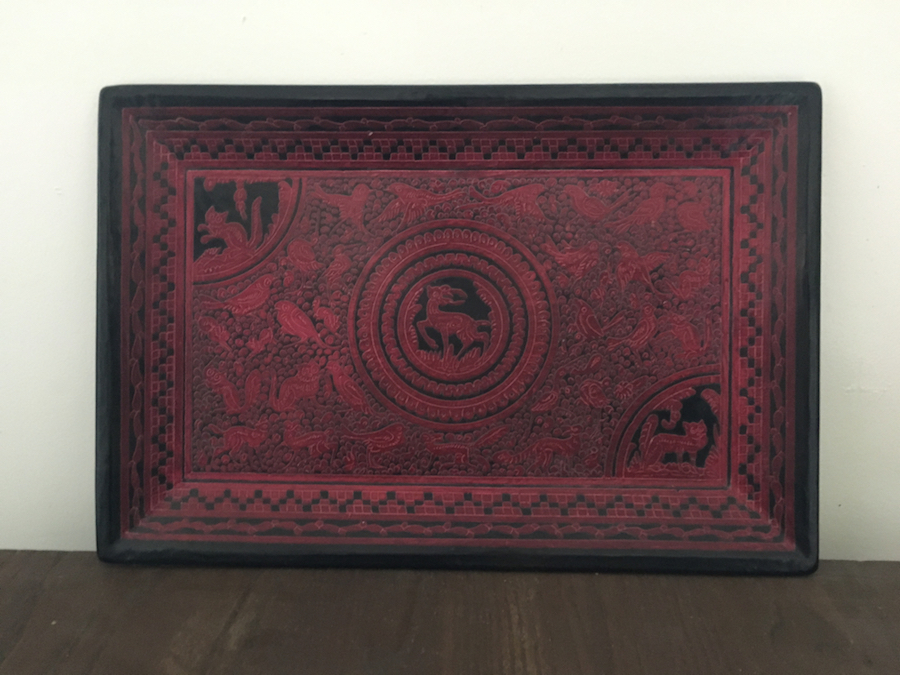
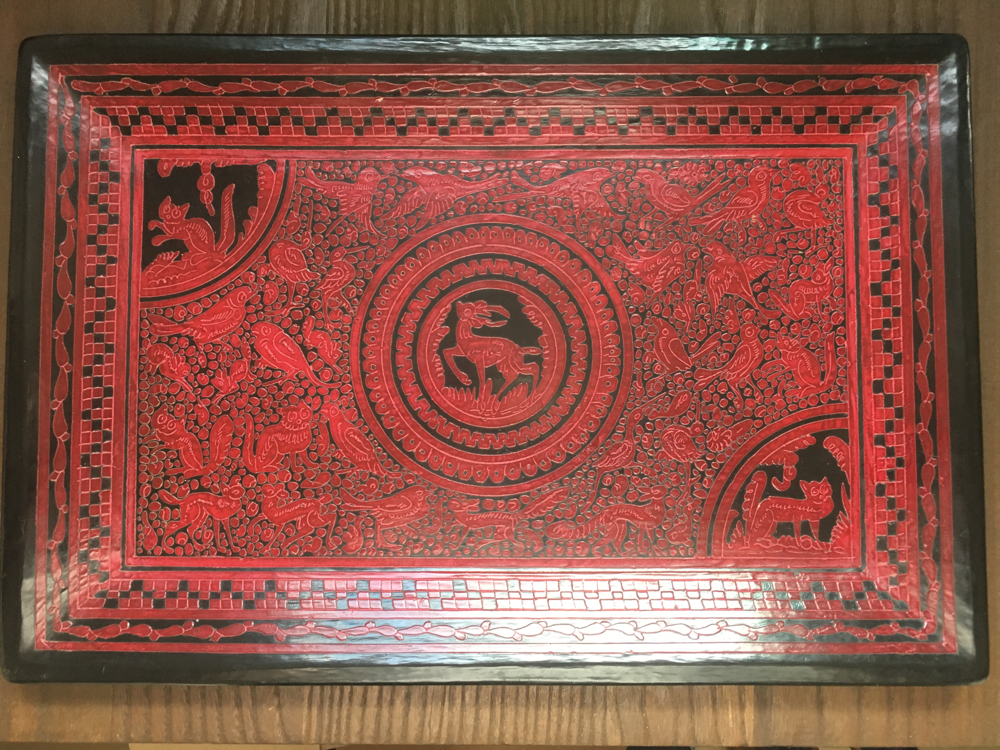
Let's put these five things to use. Here's an antique tray:
This photo is terrible. It's dark and doesn't show any dimension.
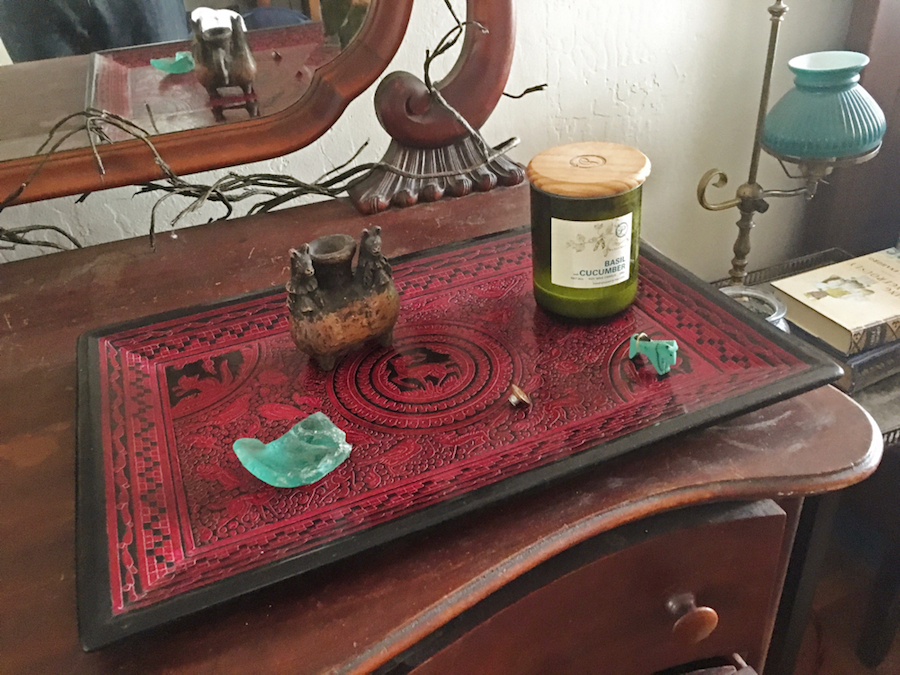
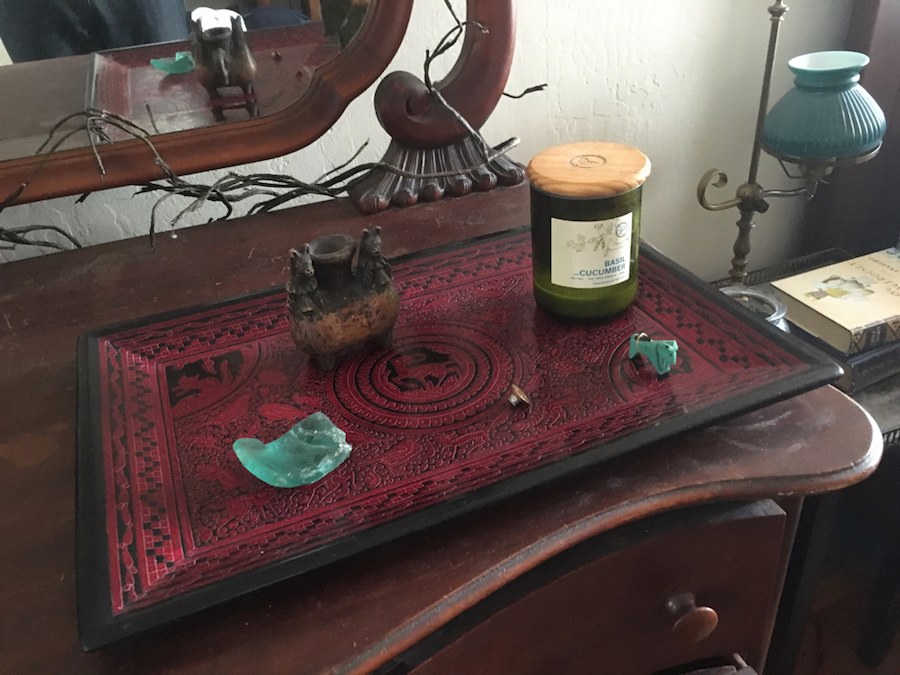
Here's the same tray, taken with the same phone, in the same house, five minutes later:
Here's the same tray, taken with the same phone, in the same house, five minutes later:
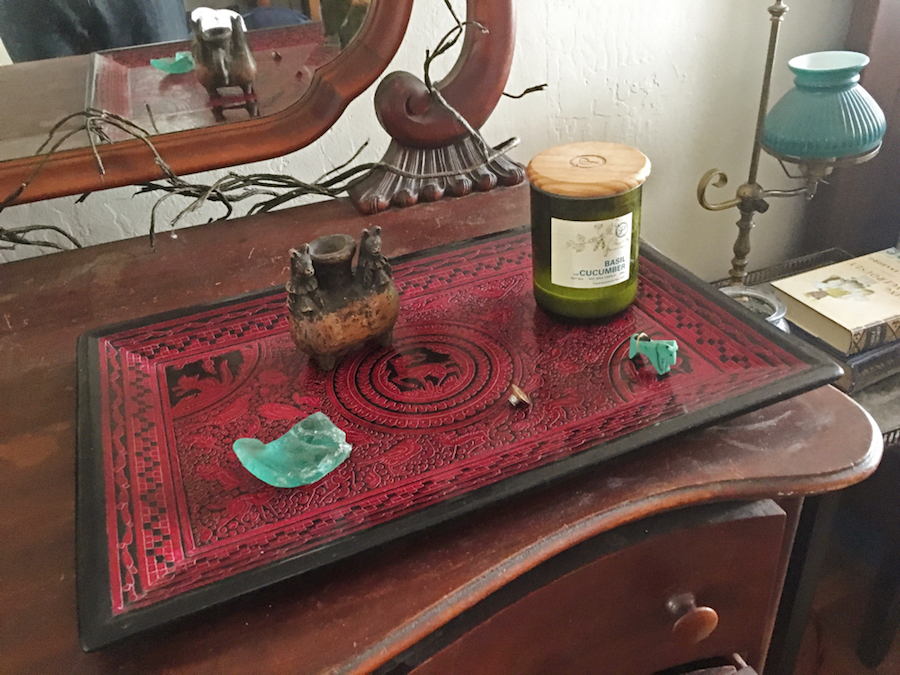
This photo is not terrible. In fact, it's good. The lighting is much better and the photo shows the product in use. Perhaps it's not as good as it'd be with a nice camera, lighting equipment, and the other things mentioned above, but that's not the idea.
How do we get from Photo A to Photo B?
The goal of product photography is to showcase a product in an appealing way and entice customers to buy by sparking their imagination as to how they might use it. The first photo above is unappealing and gives no idea as to how the product might be used (since no customer is going to prop a tray against a wall).
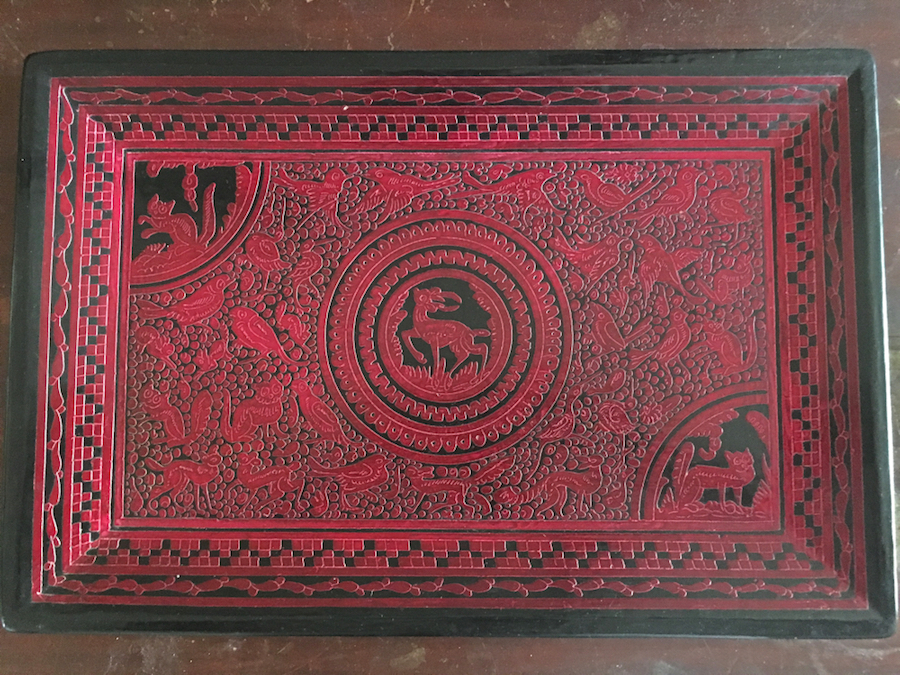
So the best place to start is to treat it as a tray and set it down.
This is a slight improvement, but the lighting in the room is too harsh, causing glare. Window light is better if it's indirect, so find a room that faces north or south, or shoot earlier in the mornings or the late afternoon — before sunset, is best. You might consider using lamps or other lighting in your house, but that rarely looks good. Natural light is always your best option.
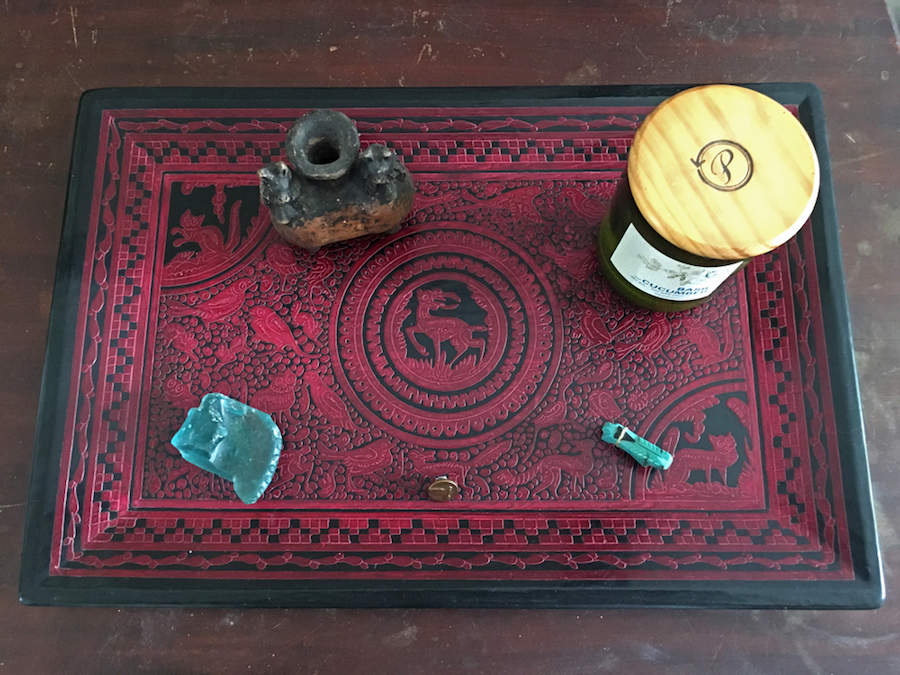
South facing window light makes this photo immediately better:
South facing window light makes this photo immediately better:
However, the picture still feels flat, and nothing about it is particularly engaging. So the photo also needs to be staged.
If you're selling clothing, you might put that clothing on a model (or more likely, a few friends). If you're selling action figures, you might have those action figures “interact" with each other. If you're selling old books, you might place those books on a nice shelf. In the case of a tray, putting things on it is a good place to start.
This is also an opportunity to present other products you're selling. A customer who came to your online store looking for a tray might buy other relevant products if you include them.
This product photo shows the tray in use, but the shot is too jumbled and feels unnatural. A different angle is needed to add depth to the photo:
Now the photo should be touched up with an app to fix the color and exposure. There are six settings worth tweaking in VSCO or Snapseed: exposure, saturation, clarity, contrast, temperature, and fade. Play around with these settings until you get the best look for your products.
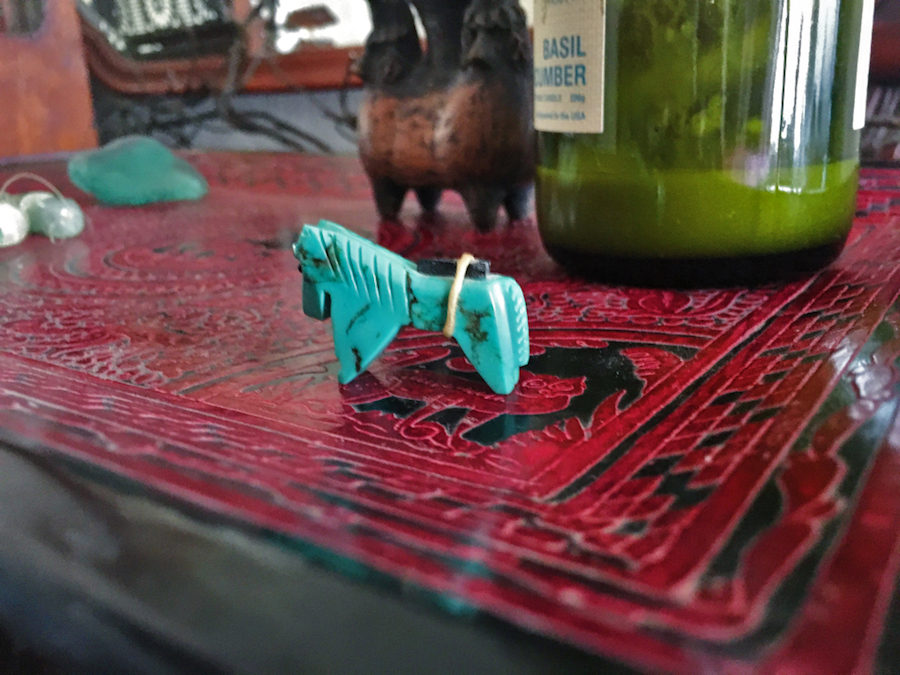
Once you've got a good starting product photo, take variations to show different angles, close-ups and your product in use. Think about how you would present the images in a slideshow or gallery on your website.
Repeat this short process for each product and you'll soon have an online store that's full of great photos.
Get started for 25% off today!
Get started for 25% off today!
 Ezra Meyers Ezra is a freelance writer focused on web development, email marketing and baseball. He lives in Los Angeles, but wishes he lived in Tokyo.
