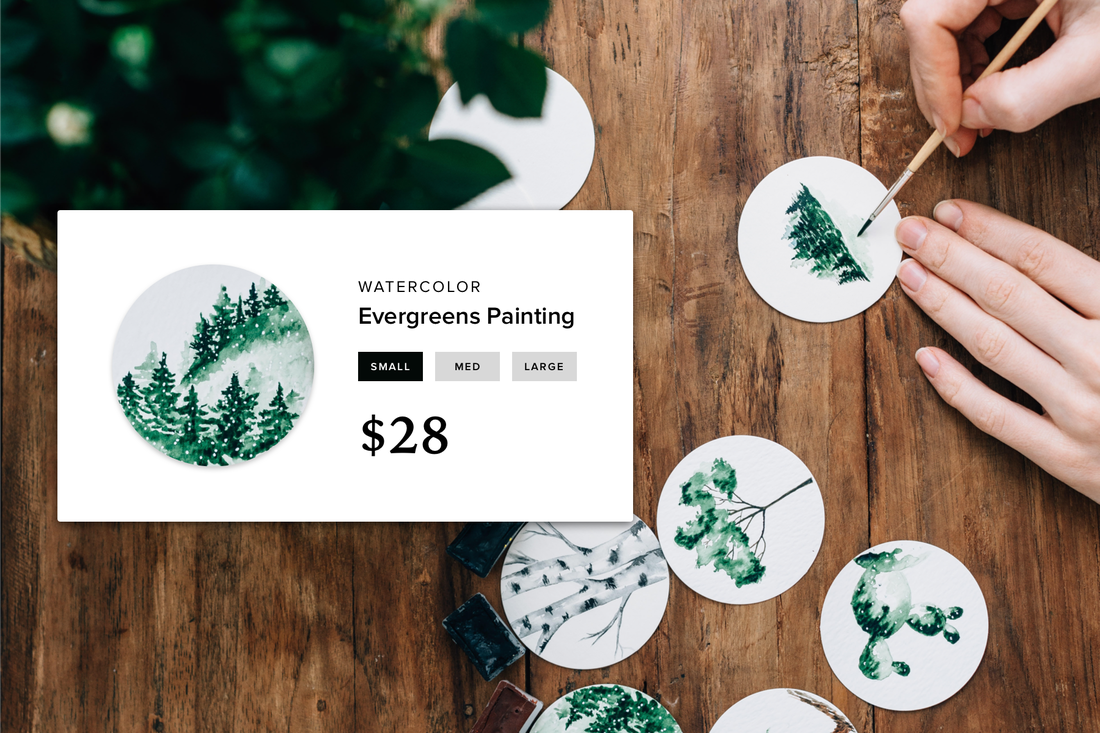
Professional product photography lures customers to your eCommerce storefront, creates desire for your product and instils confidence in buyers. Here's a little secret you might not know: You can achieve great product photos using minimal equipment with minimal investment. But how much should you be spending for these photos?
The answer to that question is complicated and basically boils down to this — spend as much as you can, and work to get the biggest bang for your buck. Today we'll break down product photography tips for budgets of $100, $500 and $1,000, with insight and suggestions for every level.
$100 Product Photography Budget
$100 Product Photography Budget
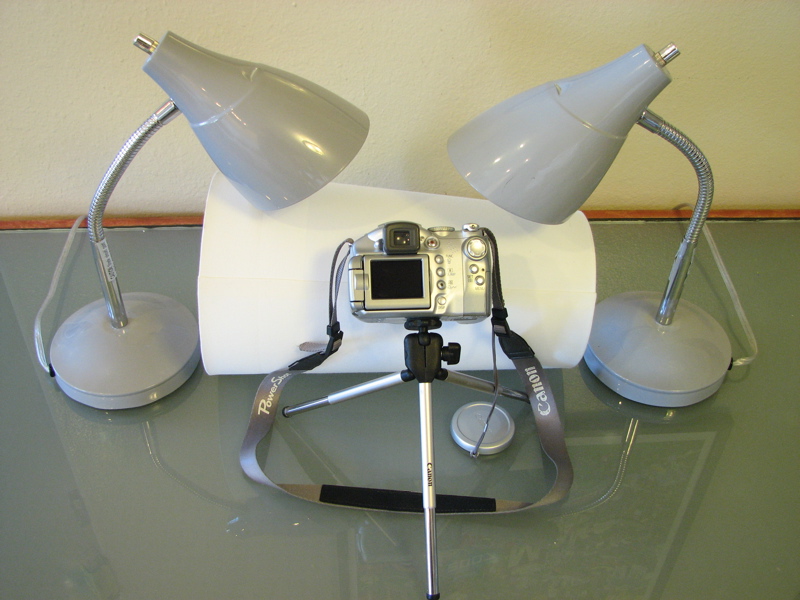
- Camera - Nikon Coolpix - $70 or your smartphone
- Backdrop - Two sheets of thin, white poster board - $5
- Lighting - An unshuttered window on a sunny day (priceless!)
- Tripod - $20-30 on Amazon for a regular camera tripod or smartphone mount
Wait for a sunny day and clear your schedule for a marathon photoshoot. The more natural light, the better your final results will be. But you don't want to be in the direct sun! This will create hard dark shadows around your photos. Instead, set up a table next to a bright window and work from there. If you need to snap photos during rainy season, grab a couple of desk lamps and invest in some natural light bulbs.
Prop your poster board so it sweeps down from the wall and on to your tabletop (you may need to tape it to the wall for best results). You need to use the poster board as both the backdrop and the base that your products will sit on for your photographs.
Using another, small section of poster board, bounce light back on your products. Fold a small piece in half and prop it up right in front of your product, but out of view of the camera.
Try the different settings on your camera, including macro mode, to achieve different results and showcase product detail.
Definitely use the tripod, or find another way to minimize camera shake. Blurry product photos are NOT your friend and will not impress your customers.
$500 Product Photography Budget
- Camera - Canon Powershot - $200 - $300
- Backdrop - Light Tent + Backdrop - $70
- Lighting - Set of two tabletop lights ($40)
- Tripod - $20-$30
The setup here is similar to the $100 setup, you're just swapping out the poster board for a lightbox that will better diffuse your studio light. The Powershot has a few additional shooting modes compared to the cheaper point and shoots, including full manual.
At this budget, lighting is still the most important factor. While the studio lights give you more flexibility, you'll still want to shoot in a lot of natural light, if possible.
You'll definitely want to invest in a tripod with a camera this big though, as it's bulkier in the hand and more difficult to keep still while shooting.
If your camera shoots in Aperture Priority (AV on a Canon or A on a Nikon) or Manual mode, set your aperture as low as you can (good lighting is essential here!). This creates that dreamy blurry background effect around your products.
$1,000 Product Photography Budget

- Camera - Canon or Nikon DSLR - $400+
- Backdrop - Photo tent or Studio backdrop on a frame - $70
- Lighting - Continuous lighting kit - $55
- Tripod - Dolica Proline Tripod - $50
Photography is one of those areas where tech does make a big difference. You can get away with a lot of lighting flubs if your camera has a faster lens and a better sensor. That's not to say that your photos will instantly be professional if you dump a lot of money into an expensive camera body and lenses, but you'll definitely be able to level up and scale more with a professional set up than with any point and shoot.
You should invest in the best camera you can afford. This might mean thinking through some long-term marketing strategy. Consider your sales goals and calculate a return on investment if you were to purchase a top of the line camera. Also think about other features you might be interested in. A good camera can be a boon to your marketing toolkit — and if you're spending $500+ on a camera body, you can expect it to last for several years. I have a Canon Rebel EOS I bought 8 years ago that still works great, and I only recently upgraded the body so I could shoot video.
Upgrade your tripod. You might as well make sure your fancy equipment is safe, so for this budget we upgraded the tripod to a sturdier, more professional version.
Think outside the lightbox. You'll find numerous online courses and tutorials for using your camera. Brush up on your composing skills, learn how to shoot (at least in Program Mode) and take your camera with you to your next networking, conference or convention. Remember, you'll need nice looking photos on your website and for social media too!
Pick up a remote control shutter release. If you can spare it in your budget, you can find a remote shutter release for any of the leading brand DSLRs for under $30. It'll let you snap and adjust your setups without having your nose behind the viewfinder.
Have fun and be creative!
And lastly, this tip applies to any budget — have fun with your product photography! Let your unique brand voice and vision shine through in the way you style your photographs. This is your opportunity to showcase the craftsmanship of your products and create buzz around your offerings. Thanks to the range of photography apps, equipment and the limitless resources for sharpening your shooting skills online, you can achieve great results no matter your budget.
Image Credits: Sodanie Chea, Lenore Edman, Jackie Baisa, Luke Nadeau
 Melissa Haney Melissa is a writer specializing in social media and web development.